Project 5 - [Auto]Stitching Photo Mosaics
By Myles Domingo
Overview
Given a defined set of corresponding points, we can calculate a homography transformation between two images and warp and stitch them into a cohesive panorama.
Taking Photos and Defining Correspondances
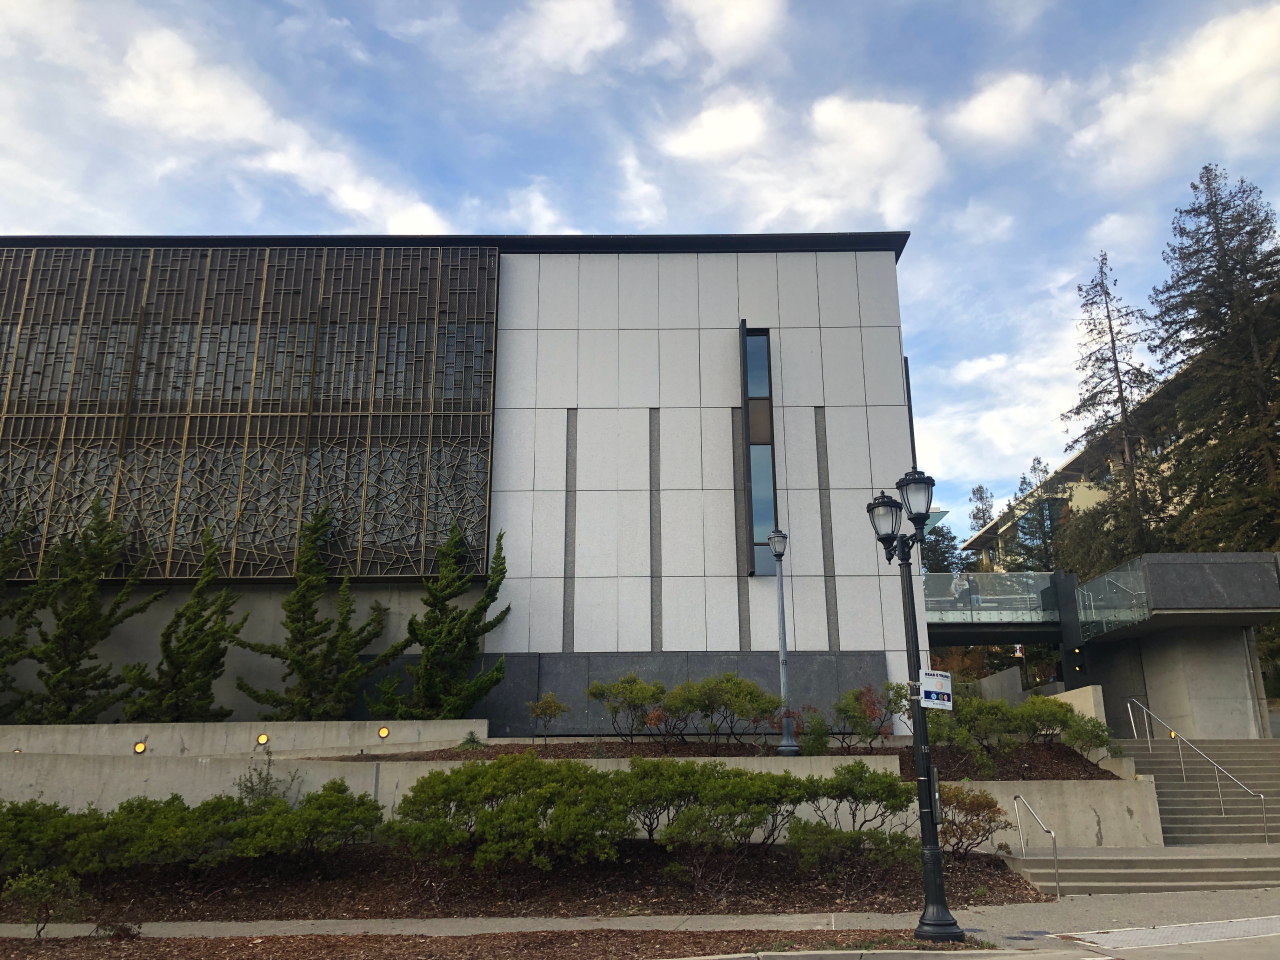
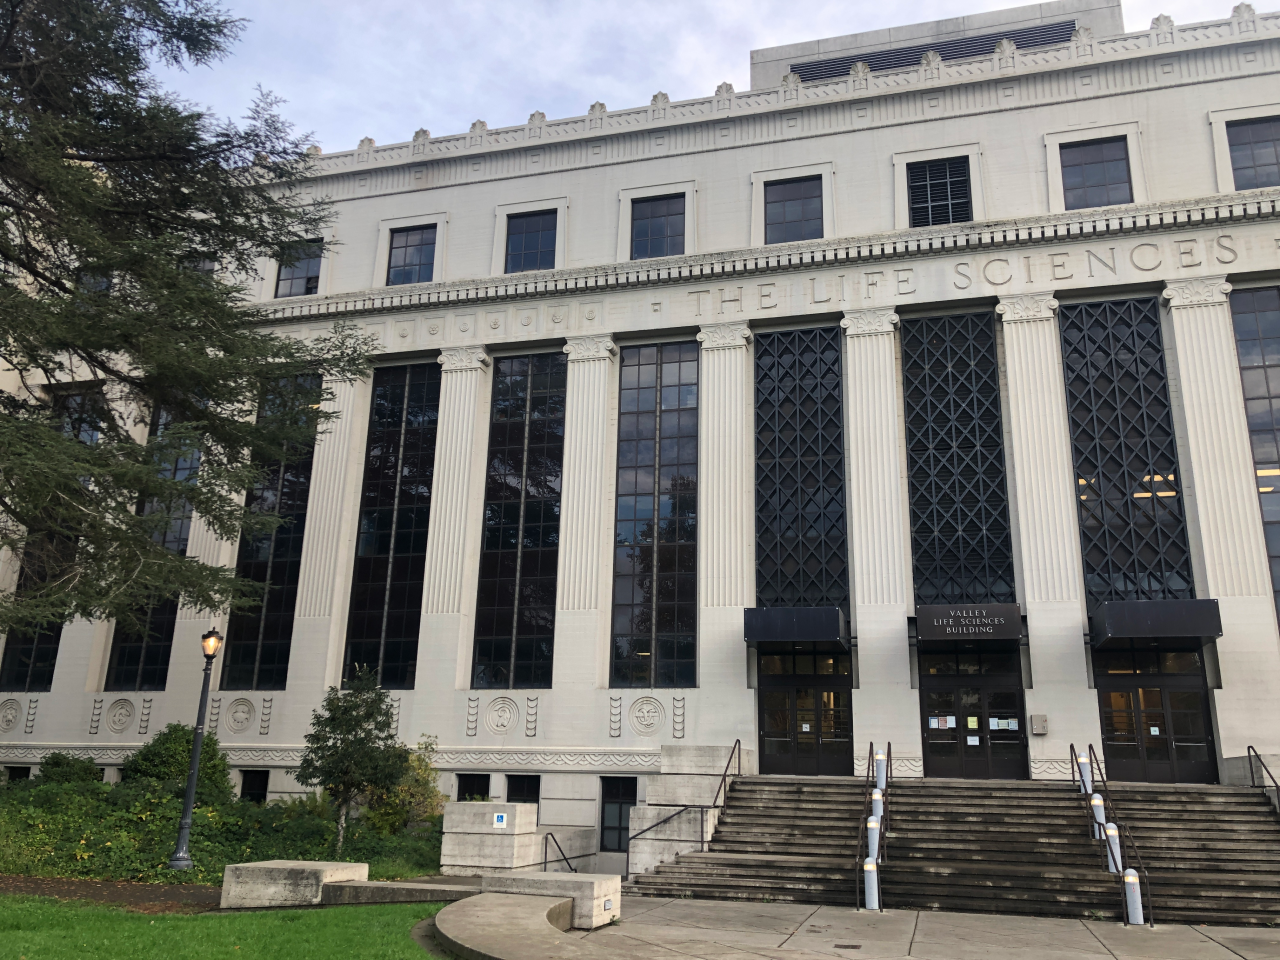
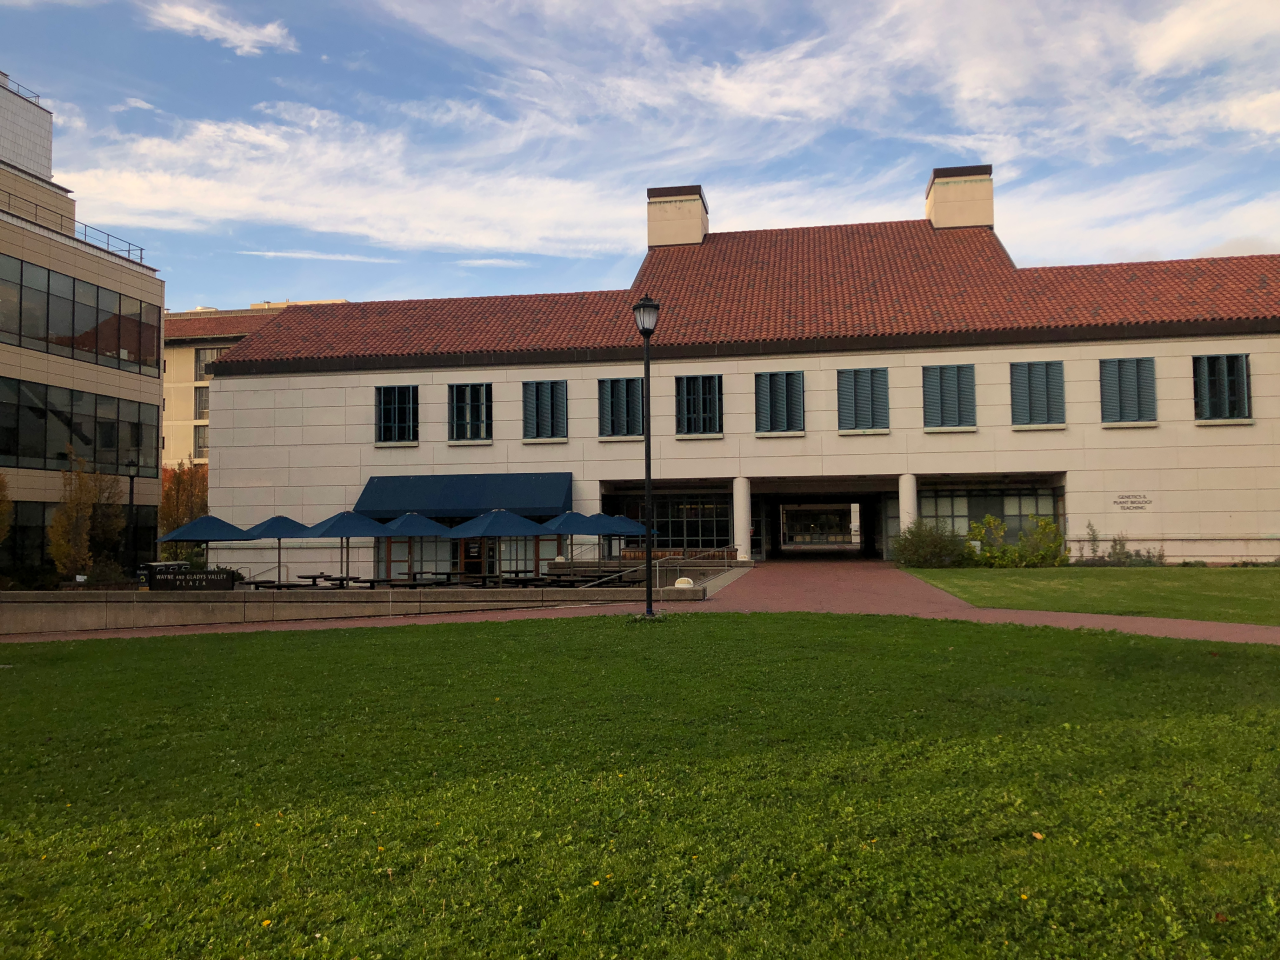
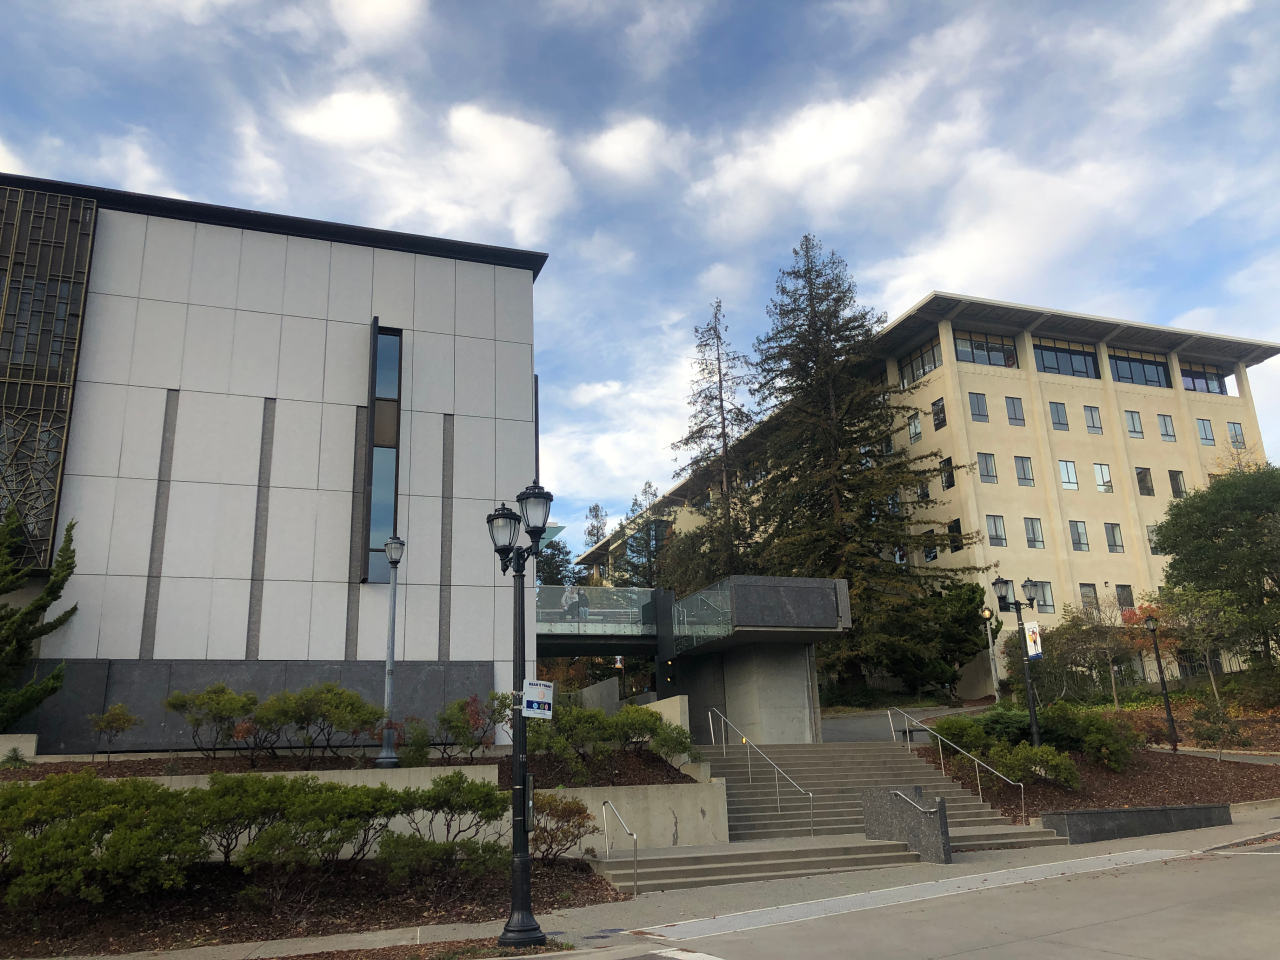
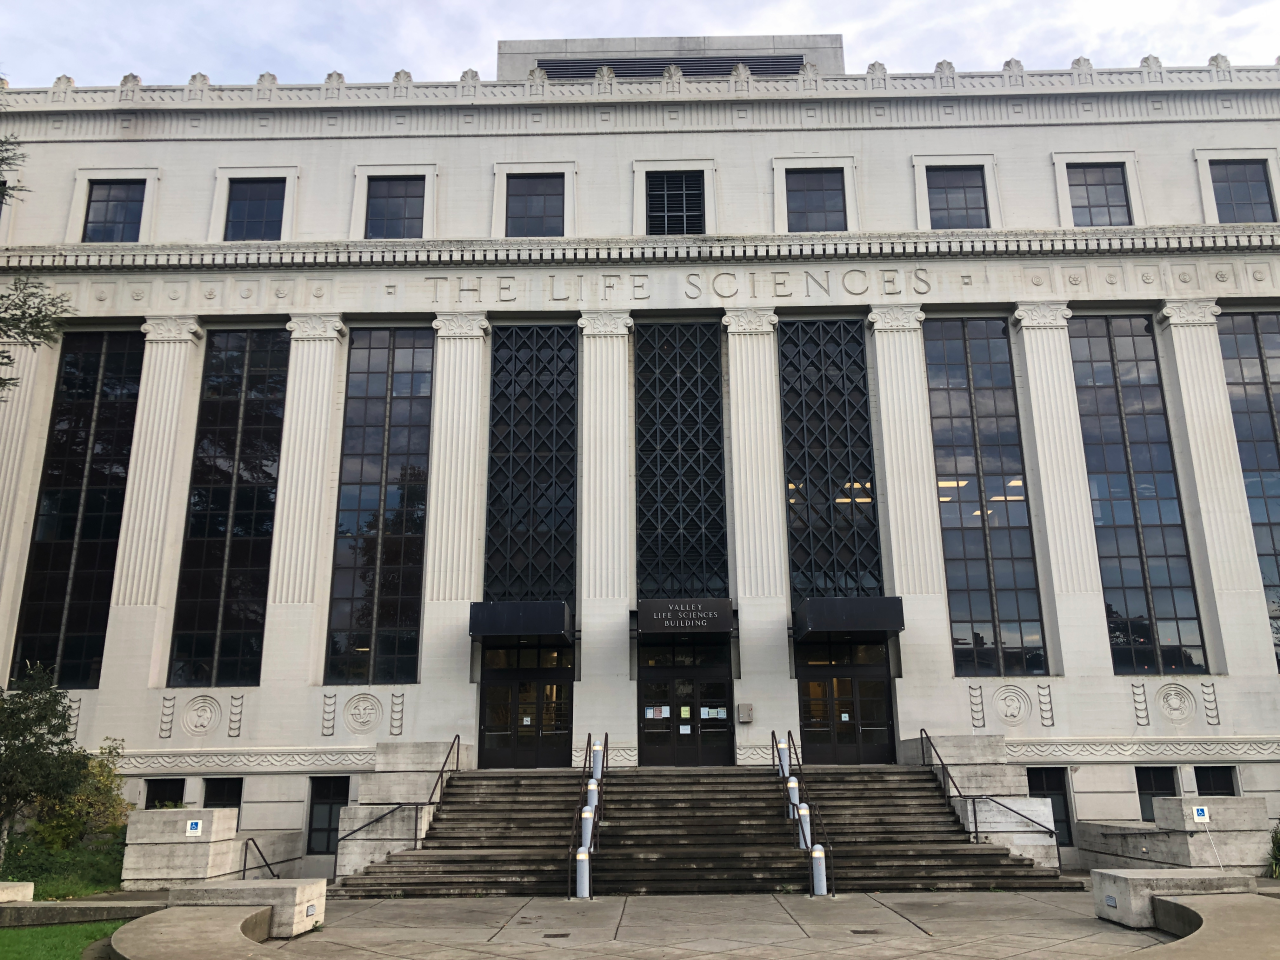
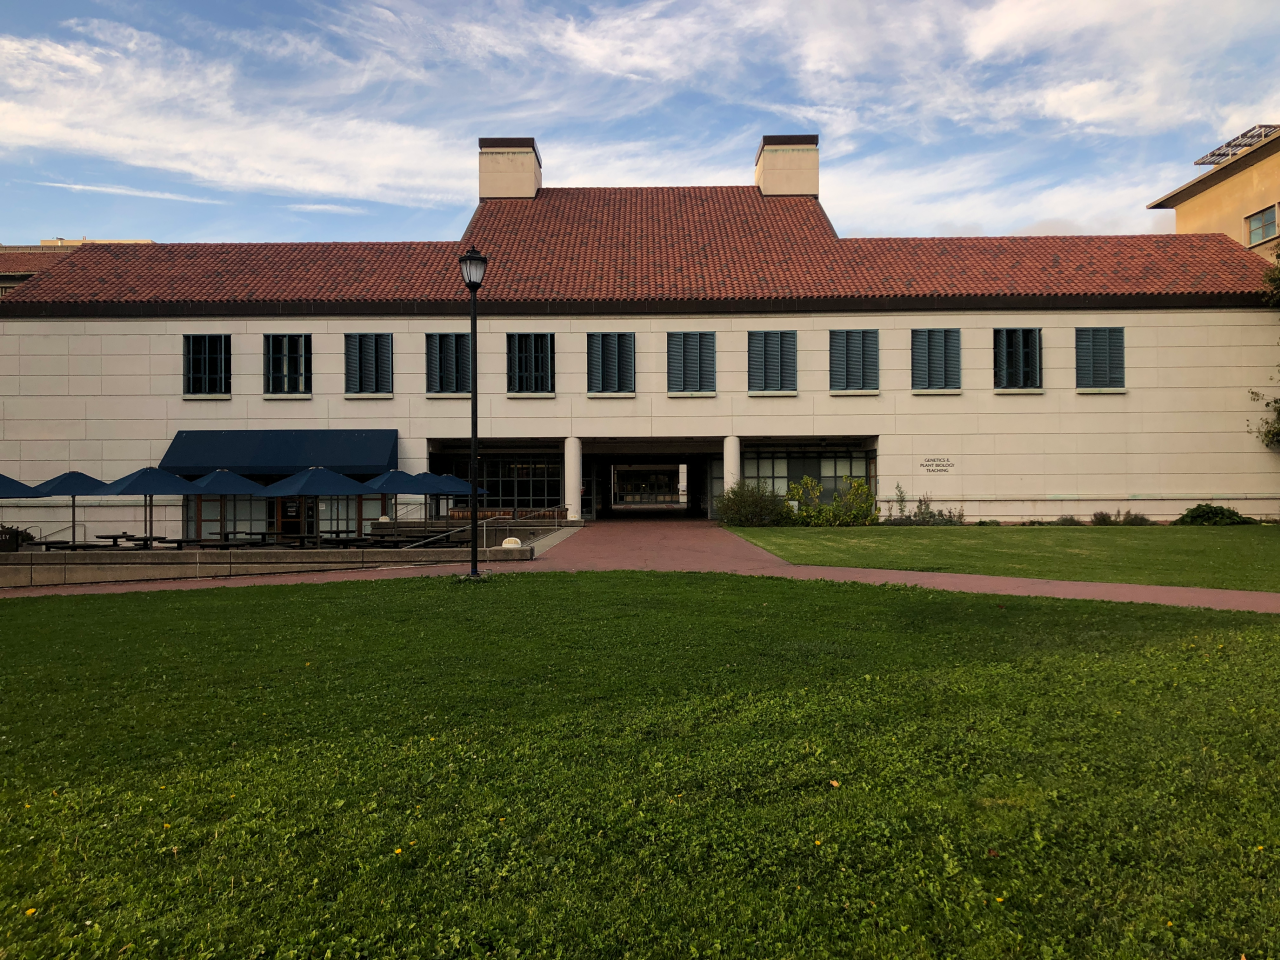
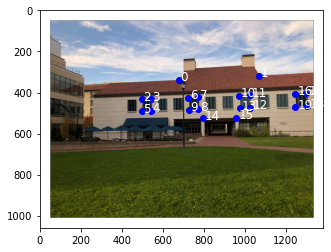
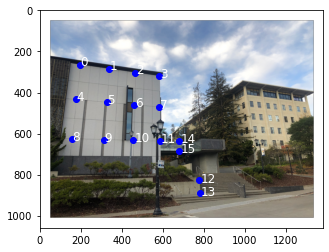
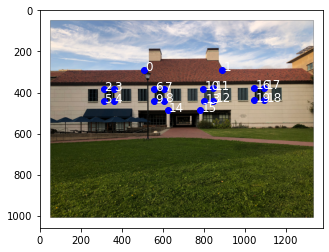
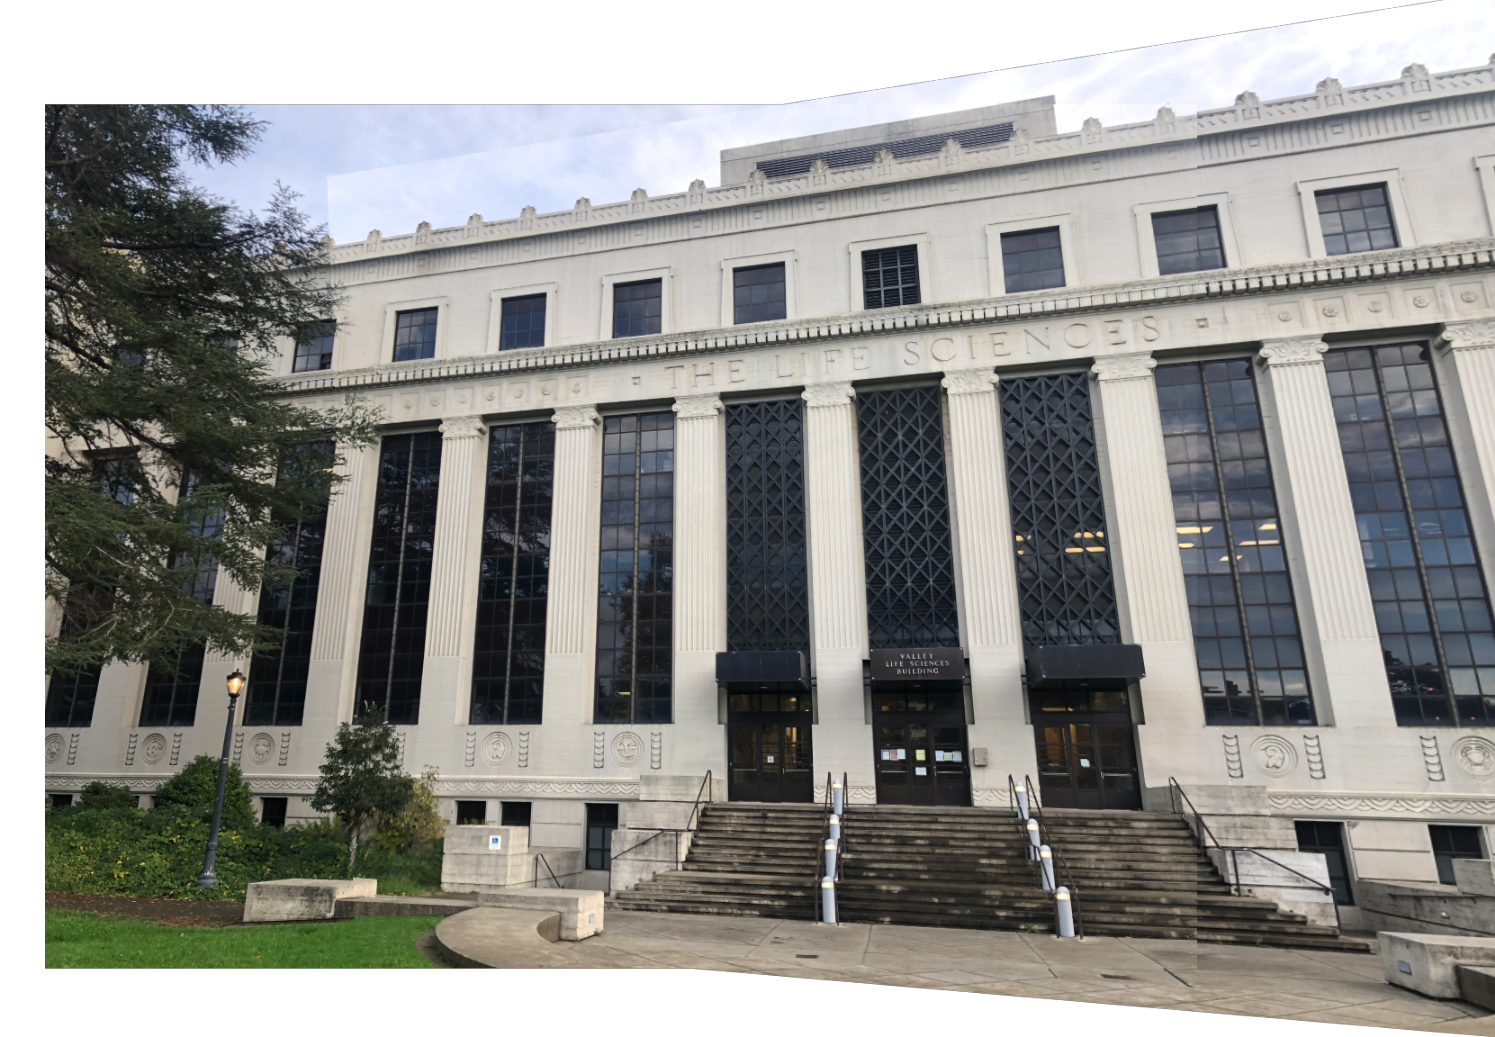
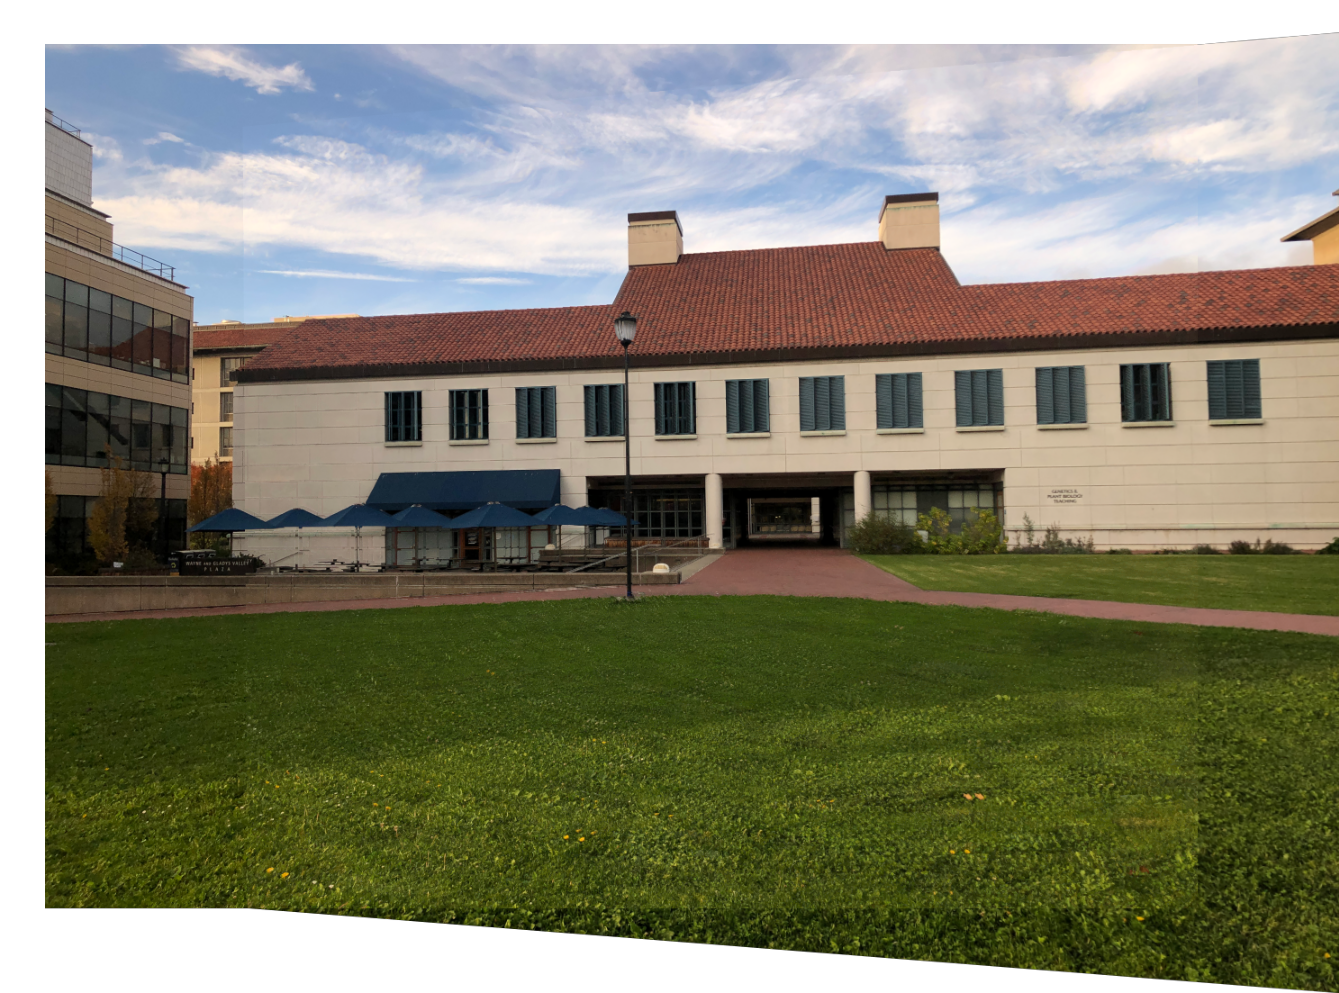
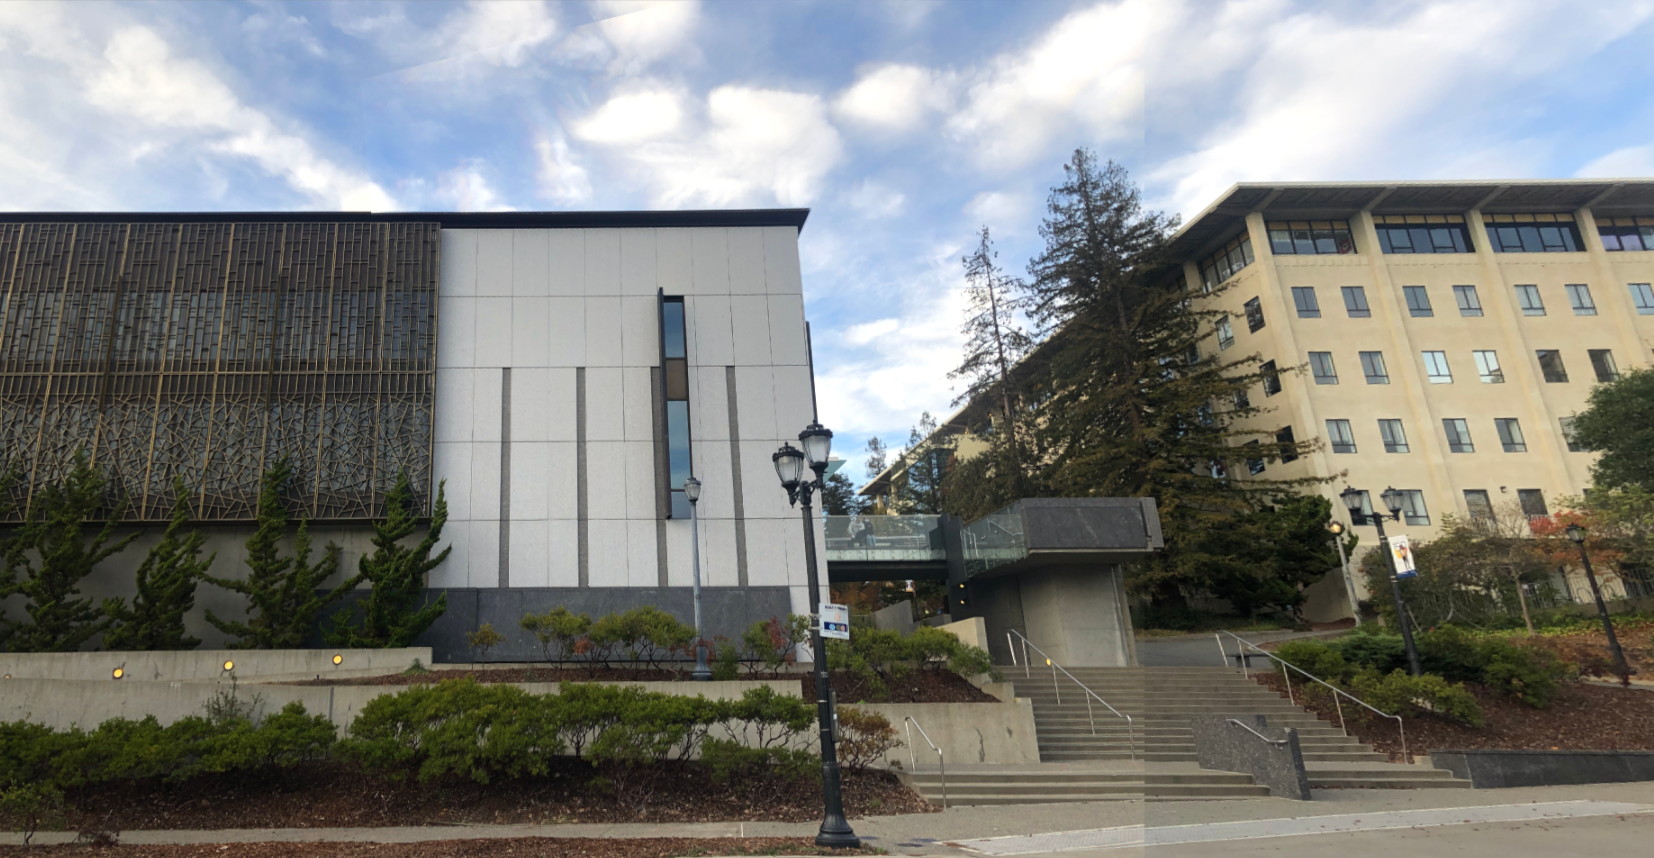
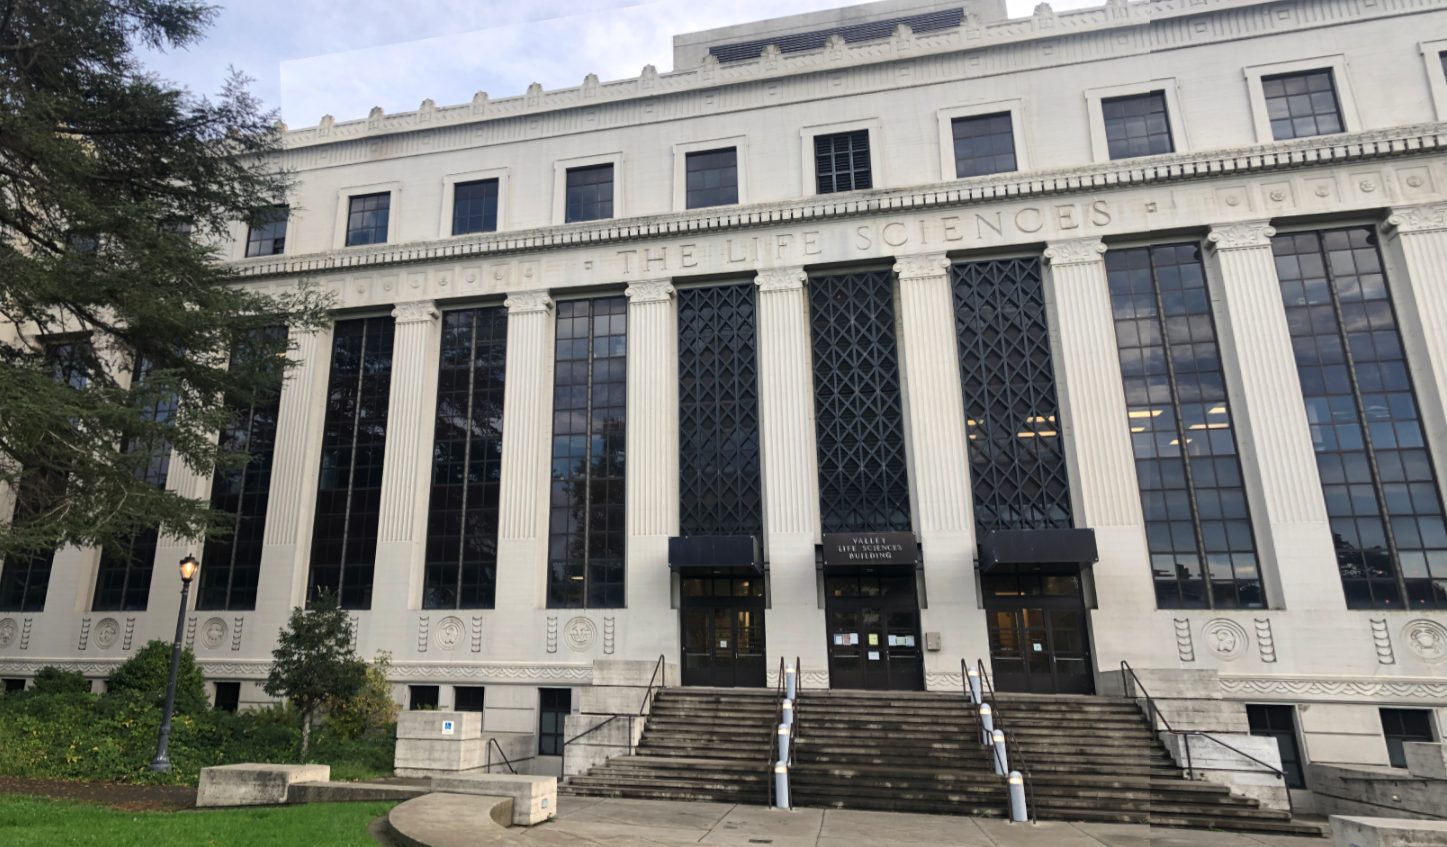
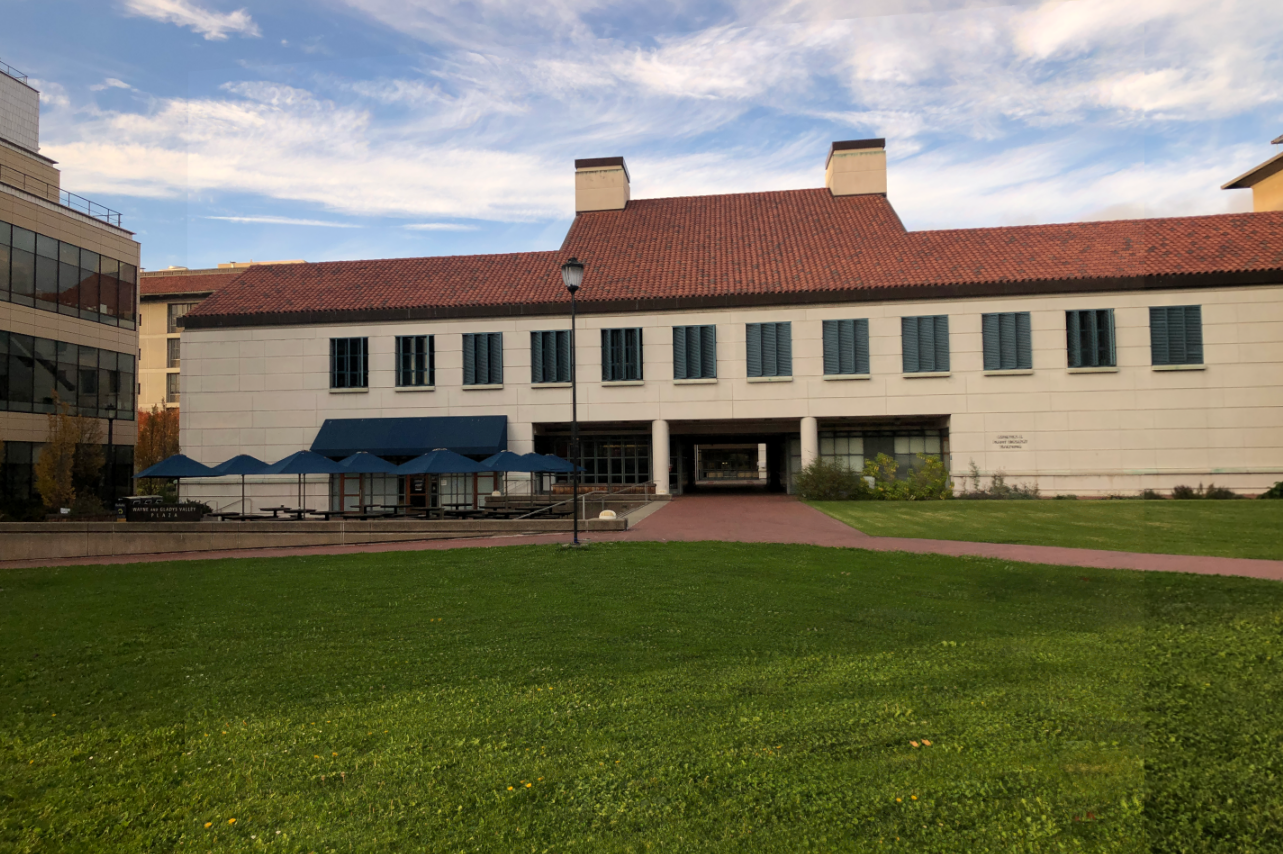
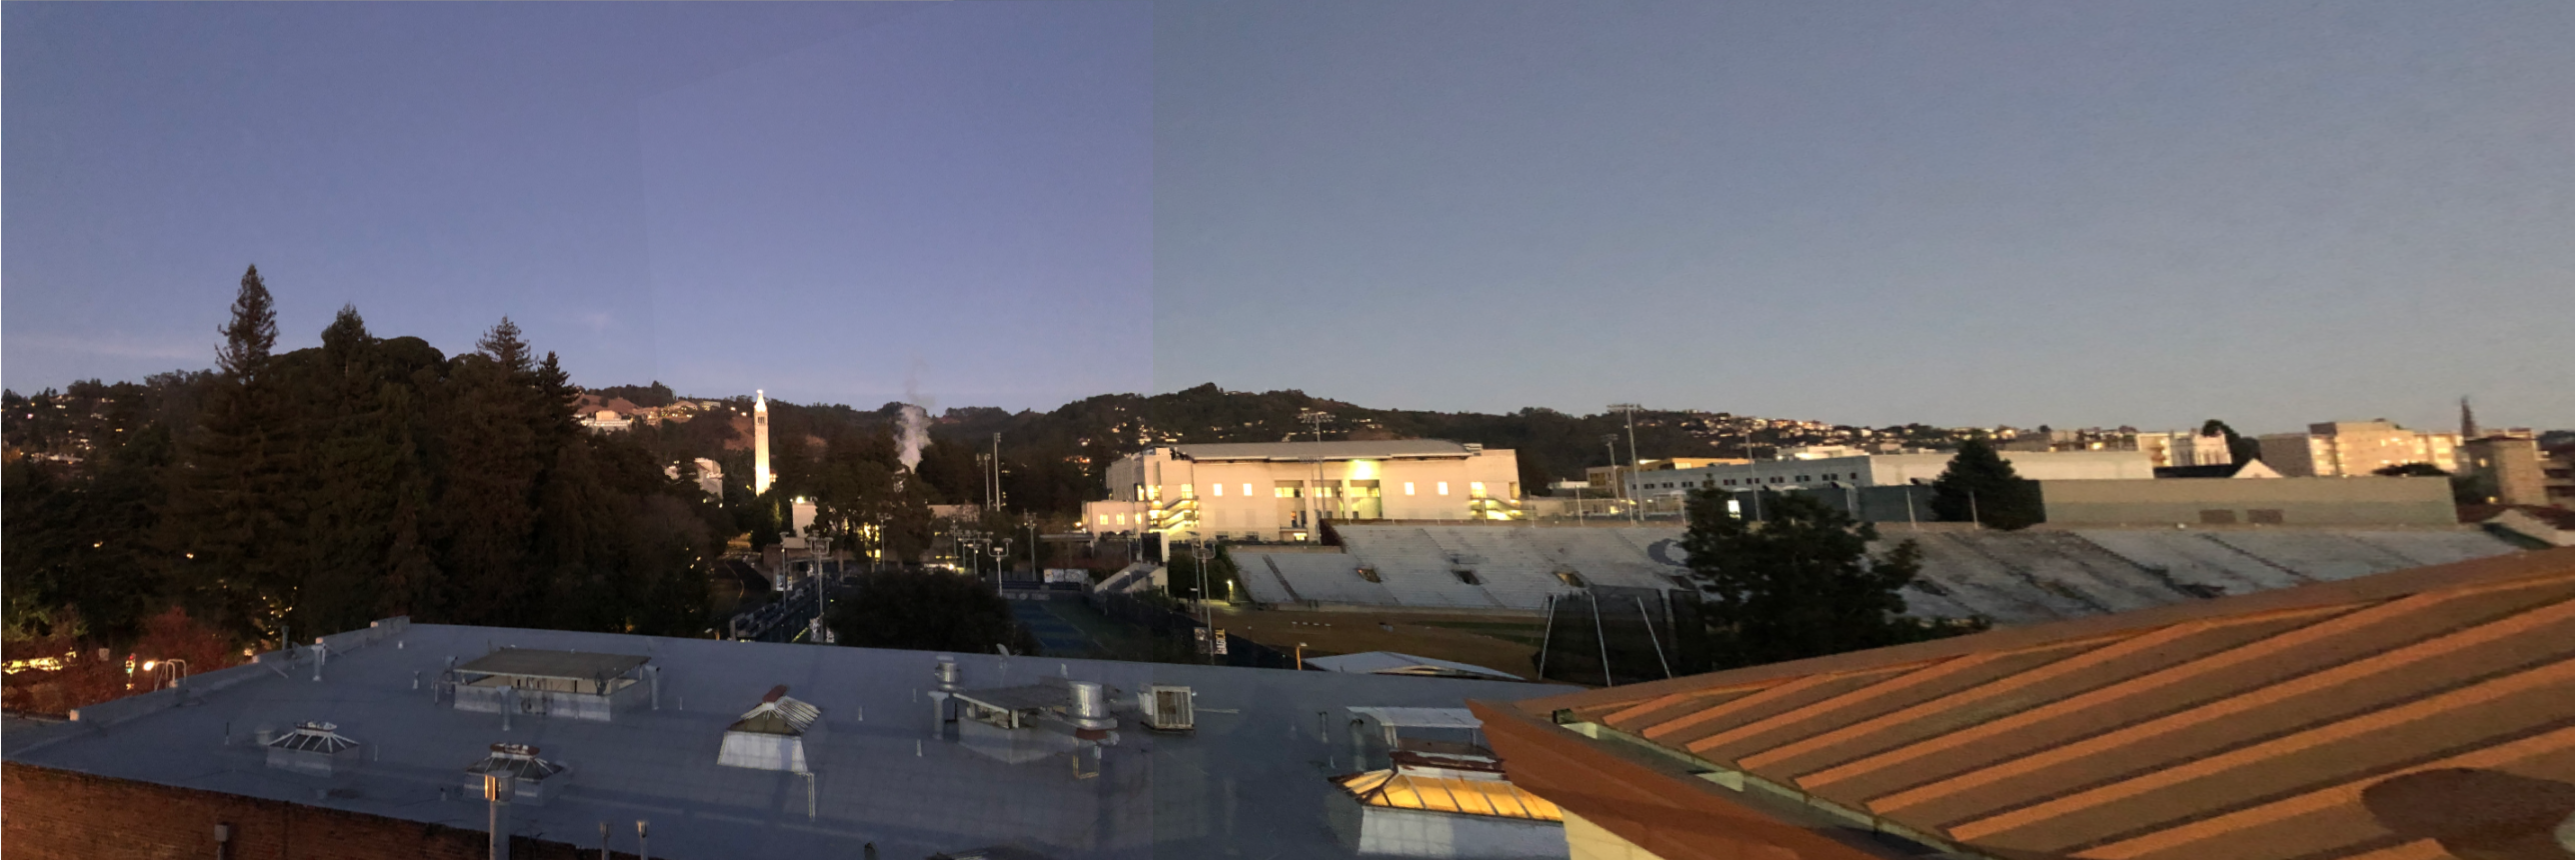
For my photos, I took several photos of buildings around campus with my smartphone. I chose images with a distinctive planar background with several recognizable features.
Homographies
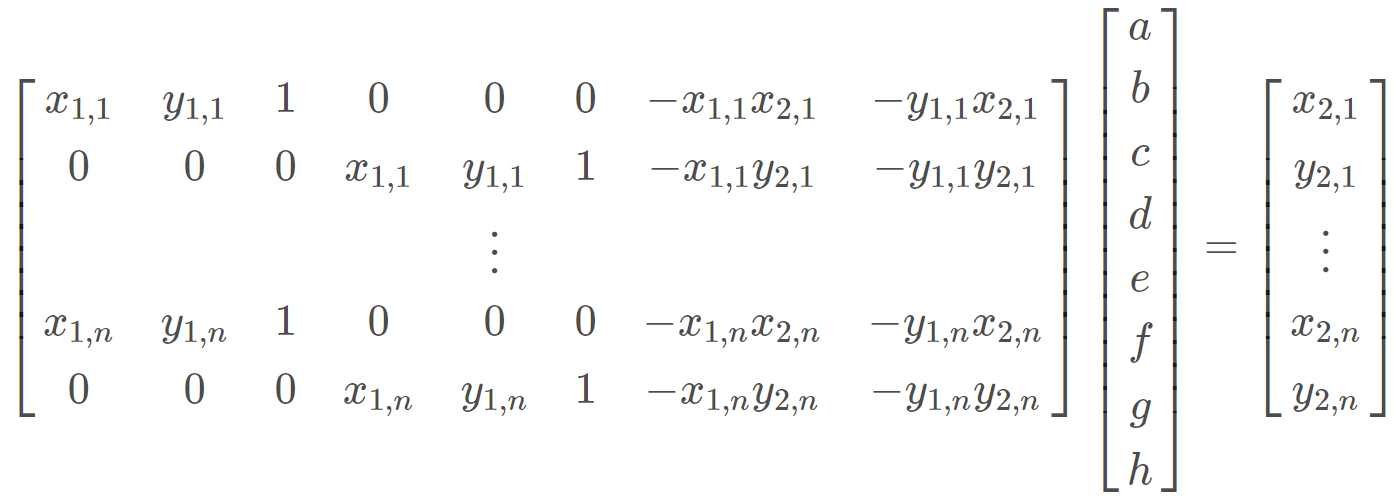
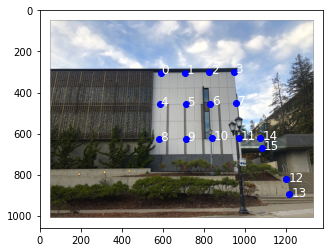
To setup for our homography, I input corresponding pairs of points between images using ginput(). I specifically selected edges and corners that were easy for me to identity. Given two sets of points, we can create a homography matrix that transforms our image, such that p' = Hp. We collect sets of at least four points, save it in a .txt file and perform linear least squares to find our homography matrix, H.


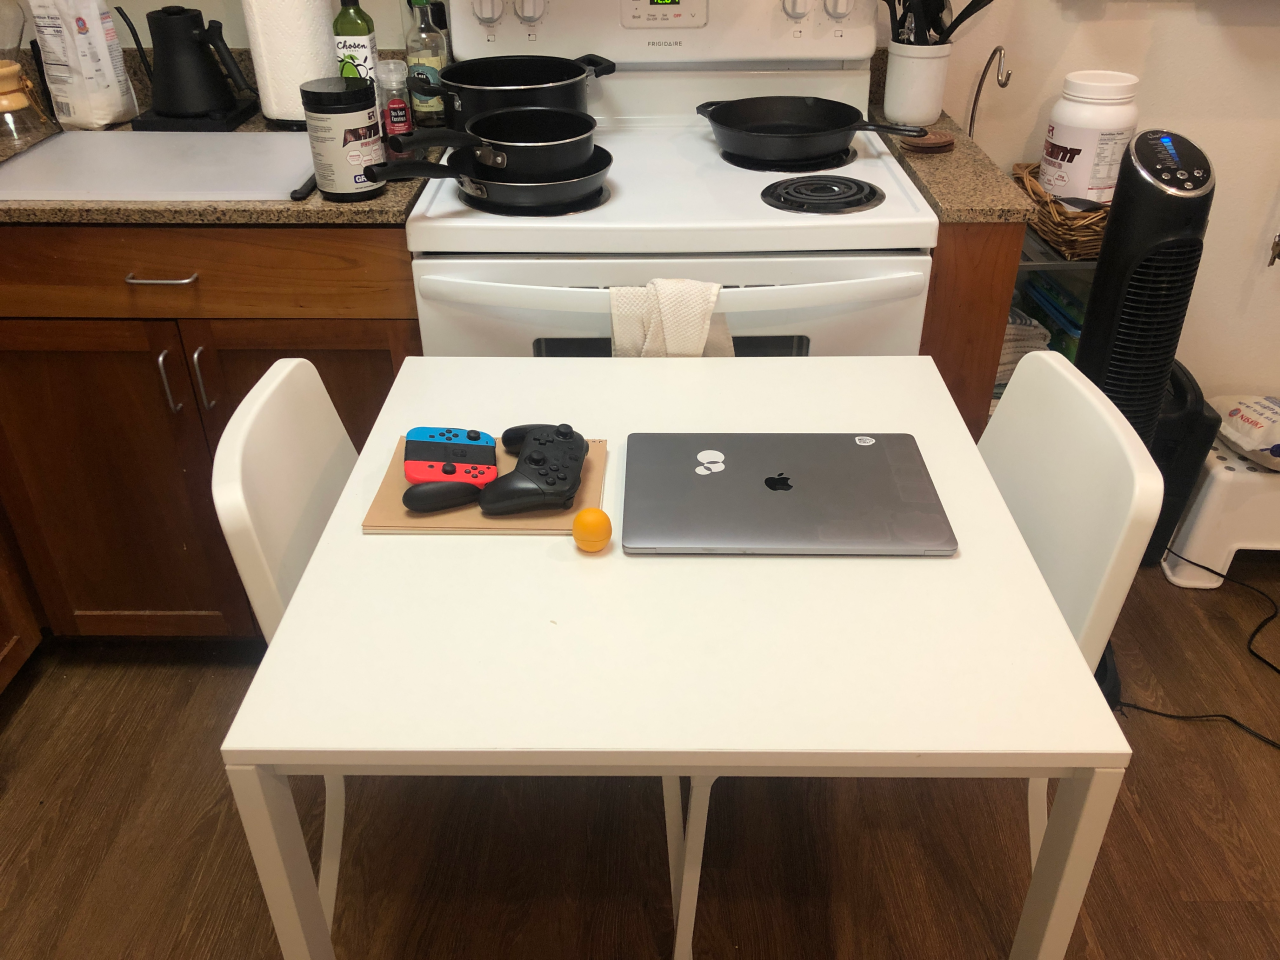
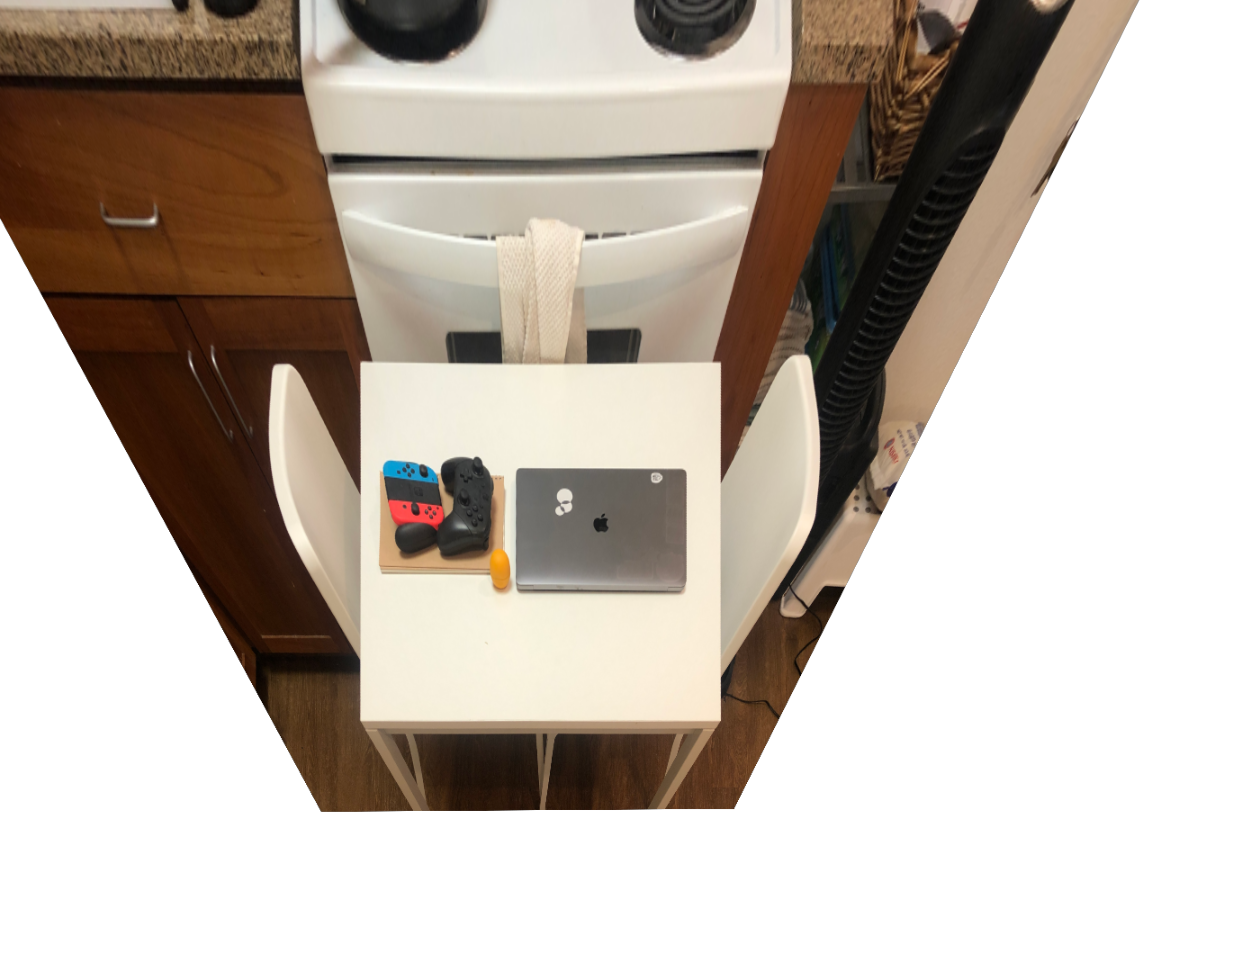
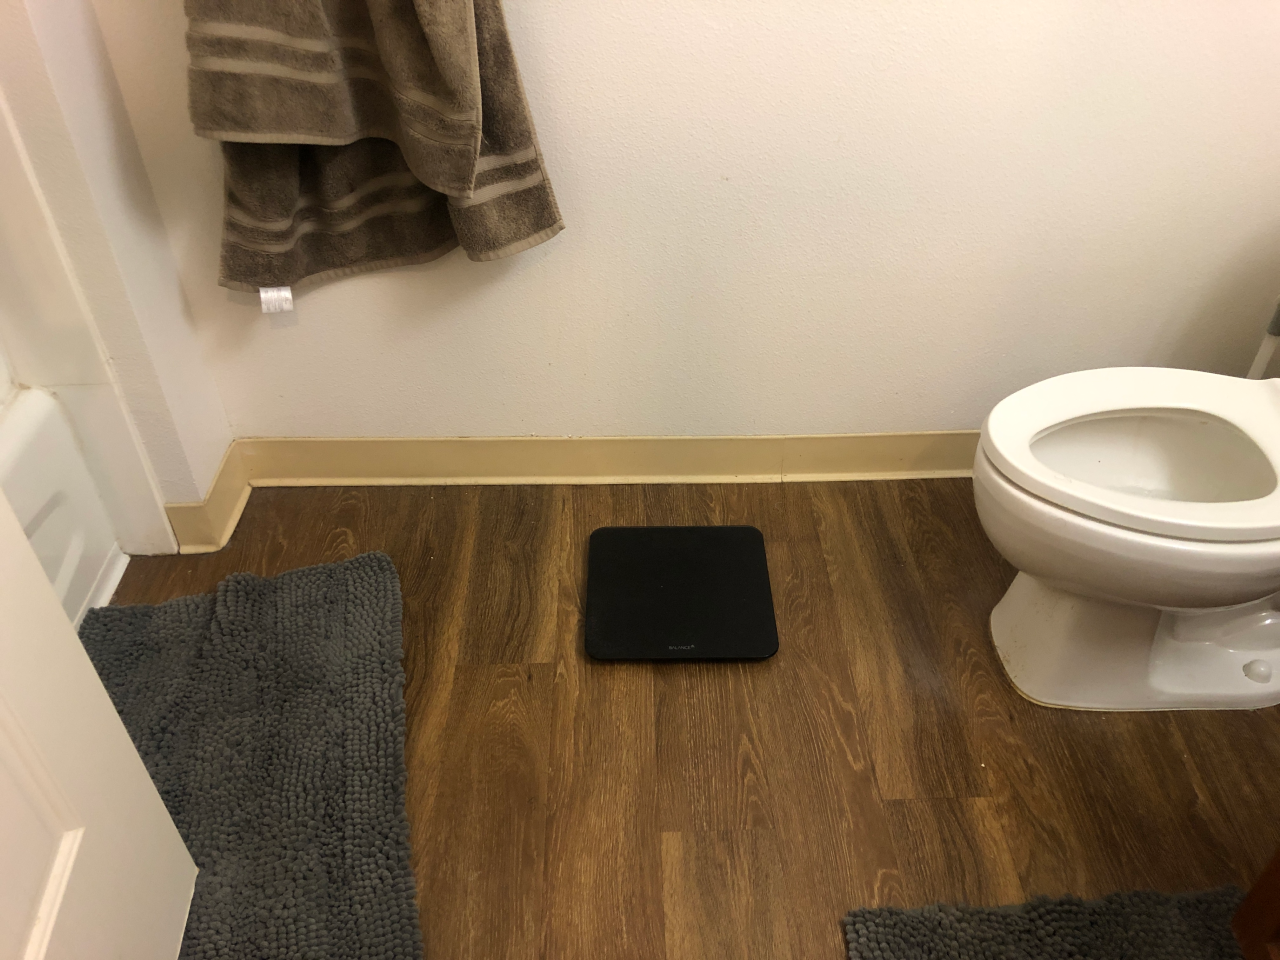
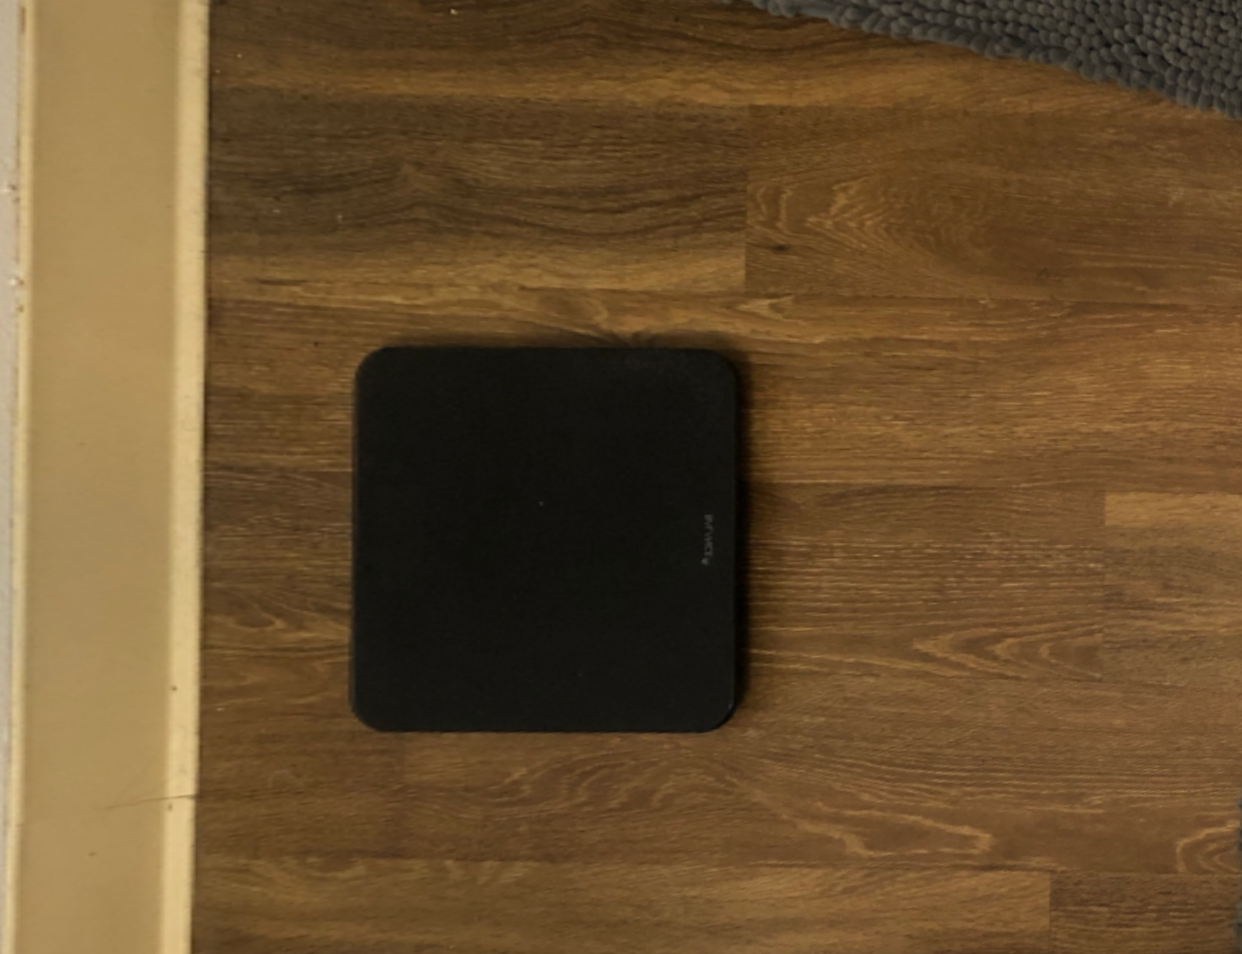
Rectification
Now that we have a way to project an image onto another using homography, we can rectify images. Given an image, we can select an object that is colloquially square and calculate a homography matrix, H between its points and a unit square [(0, 1), (1, 0), (0, 0), (1, 1)], then warp the image using H as our transformation matrix. Here are the results --
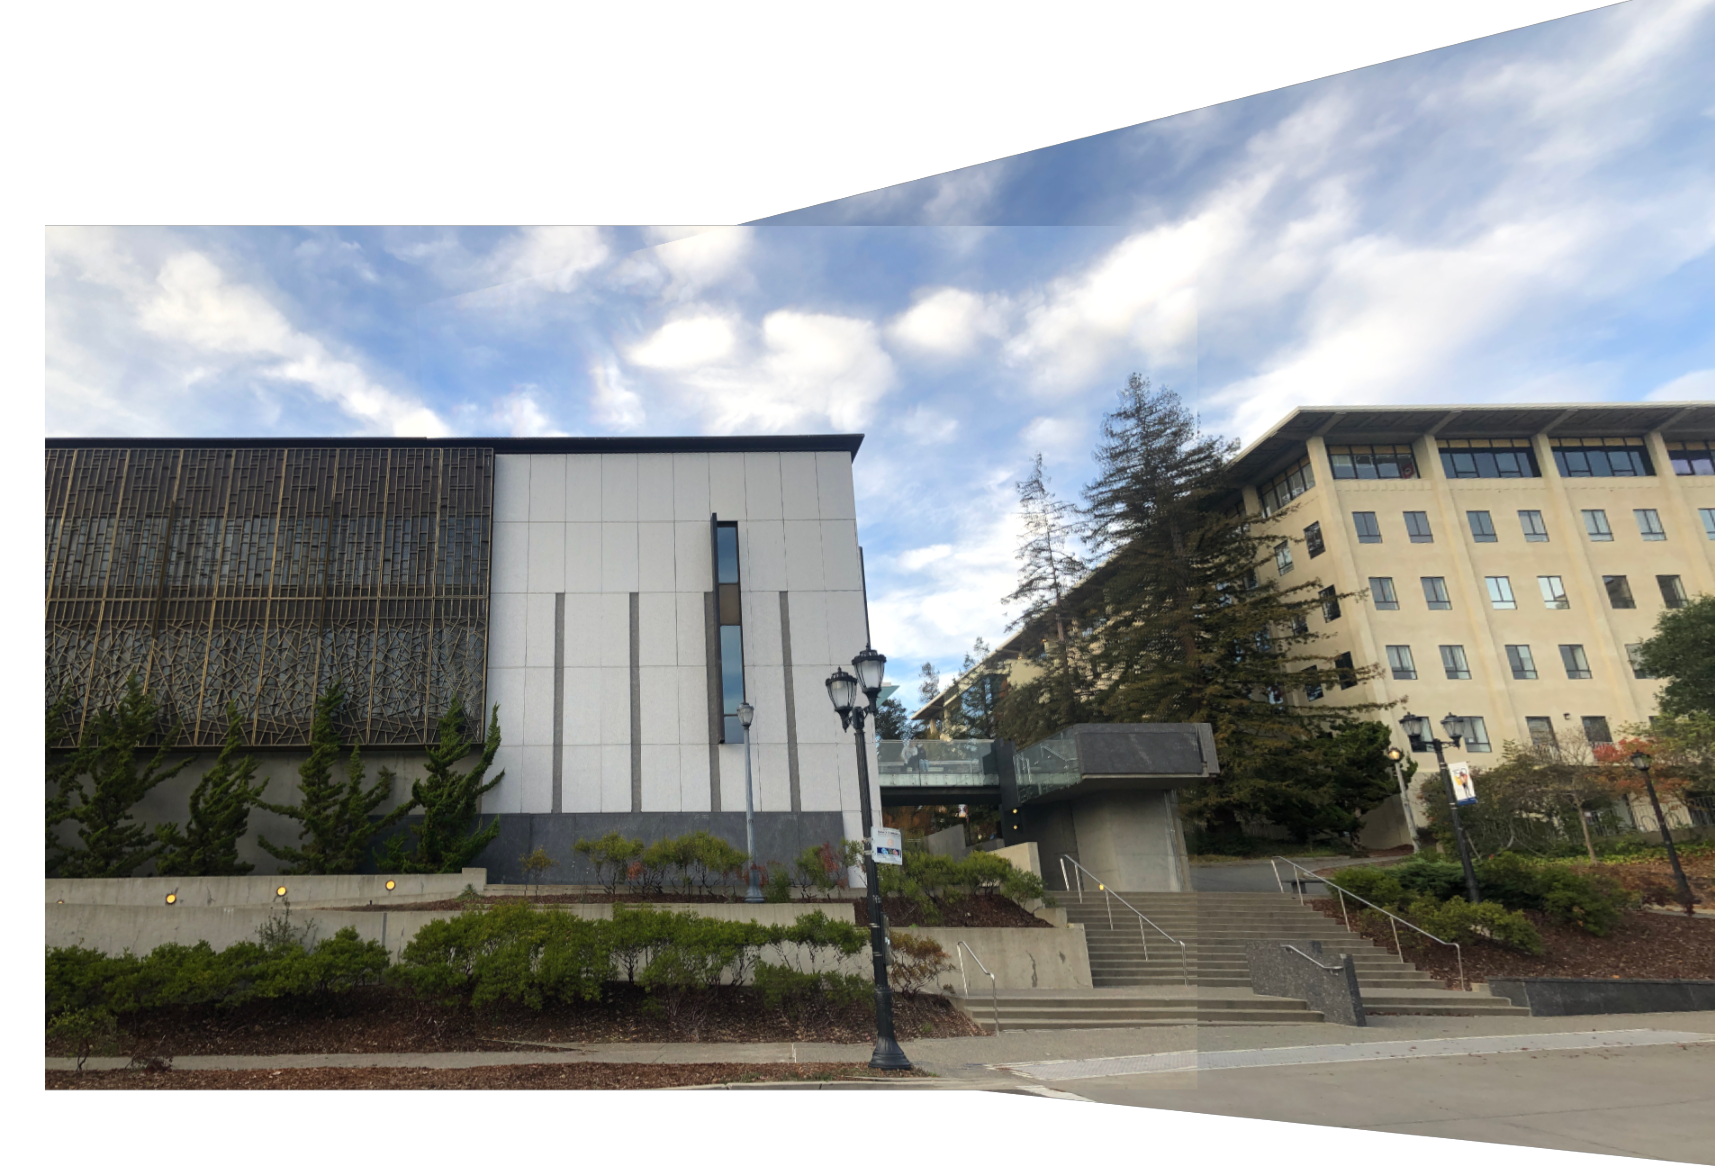
Mosaic
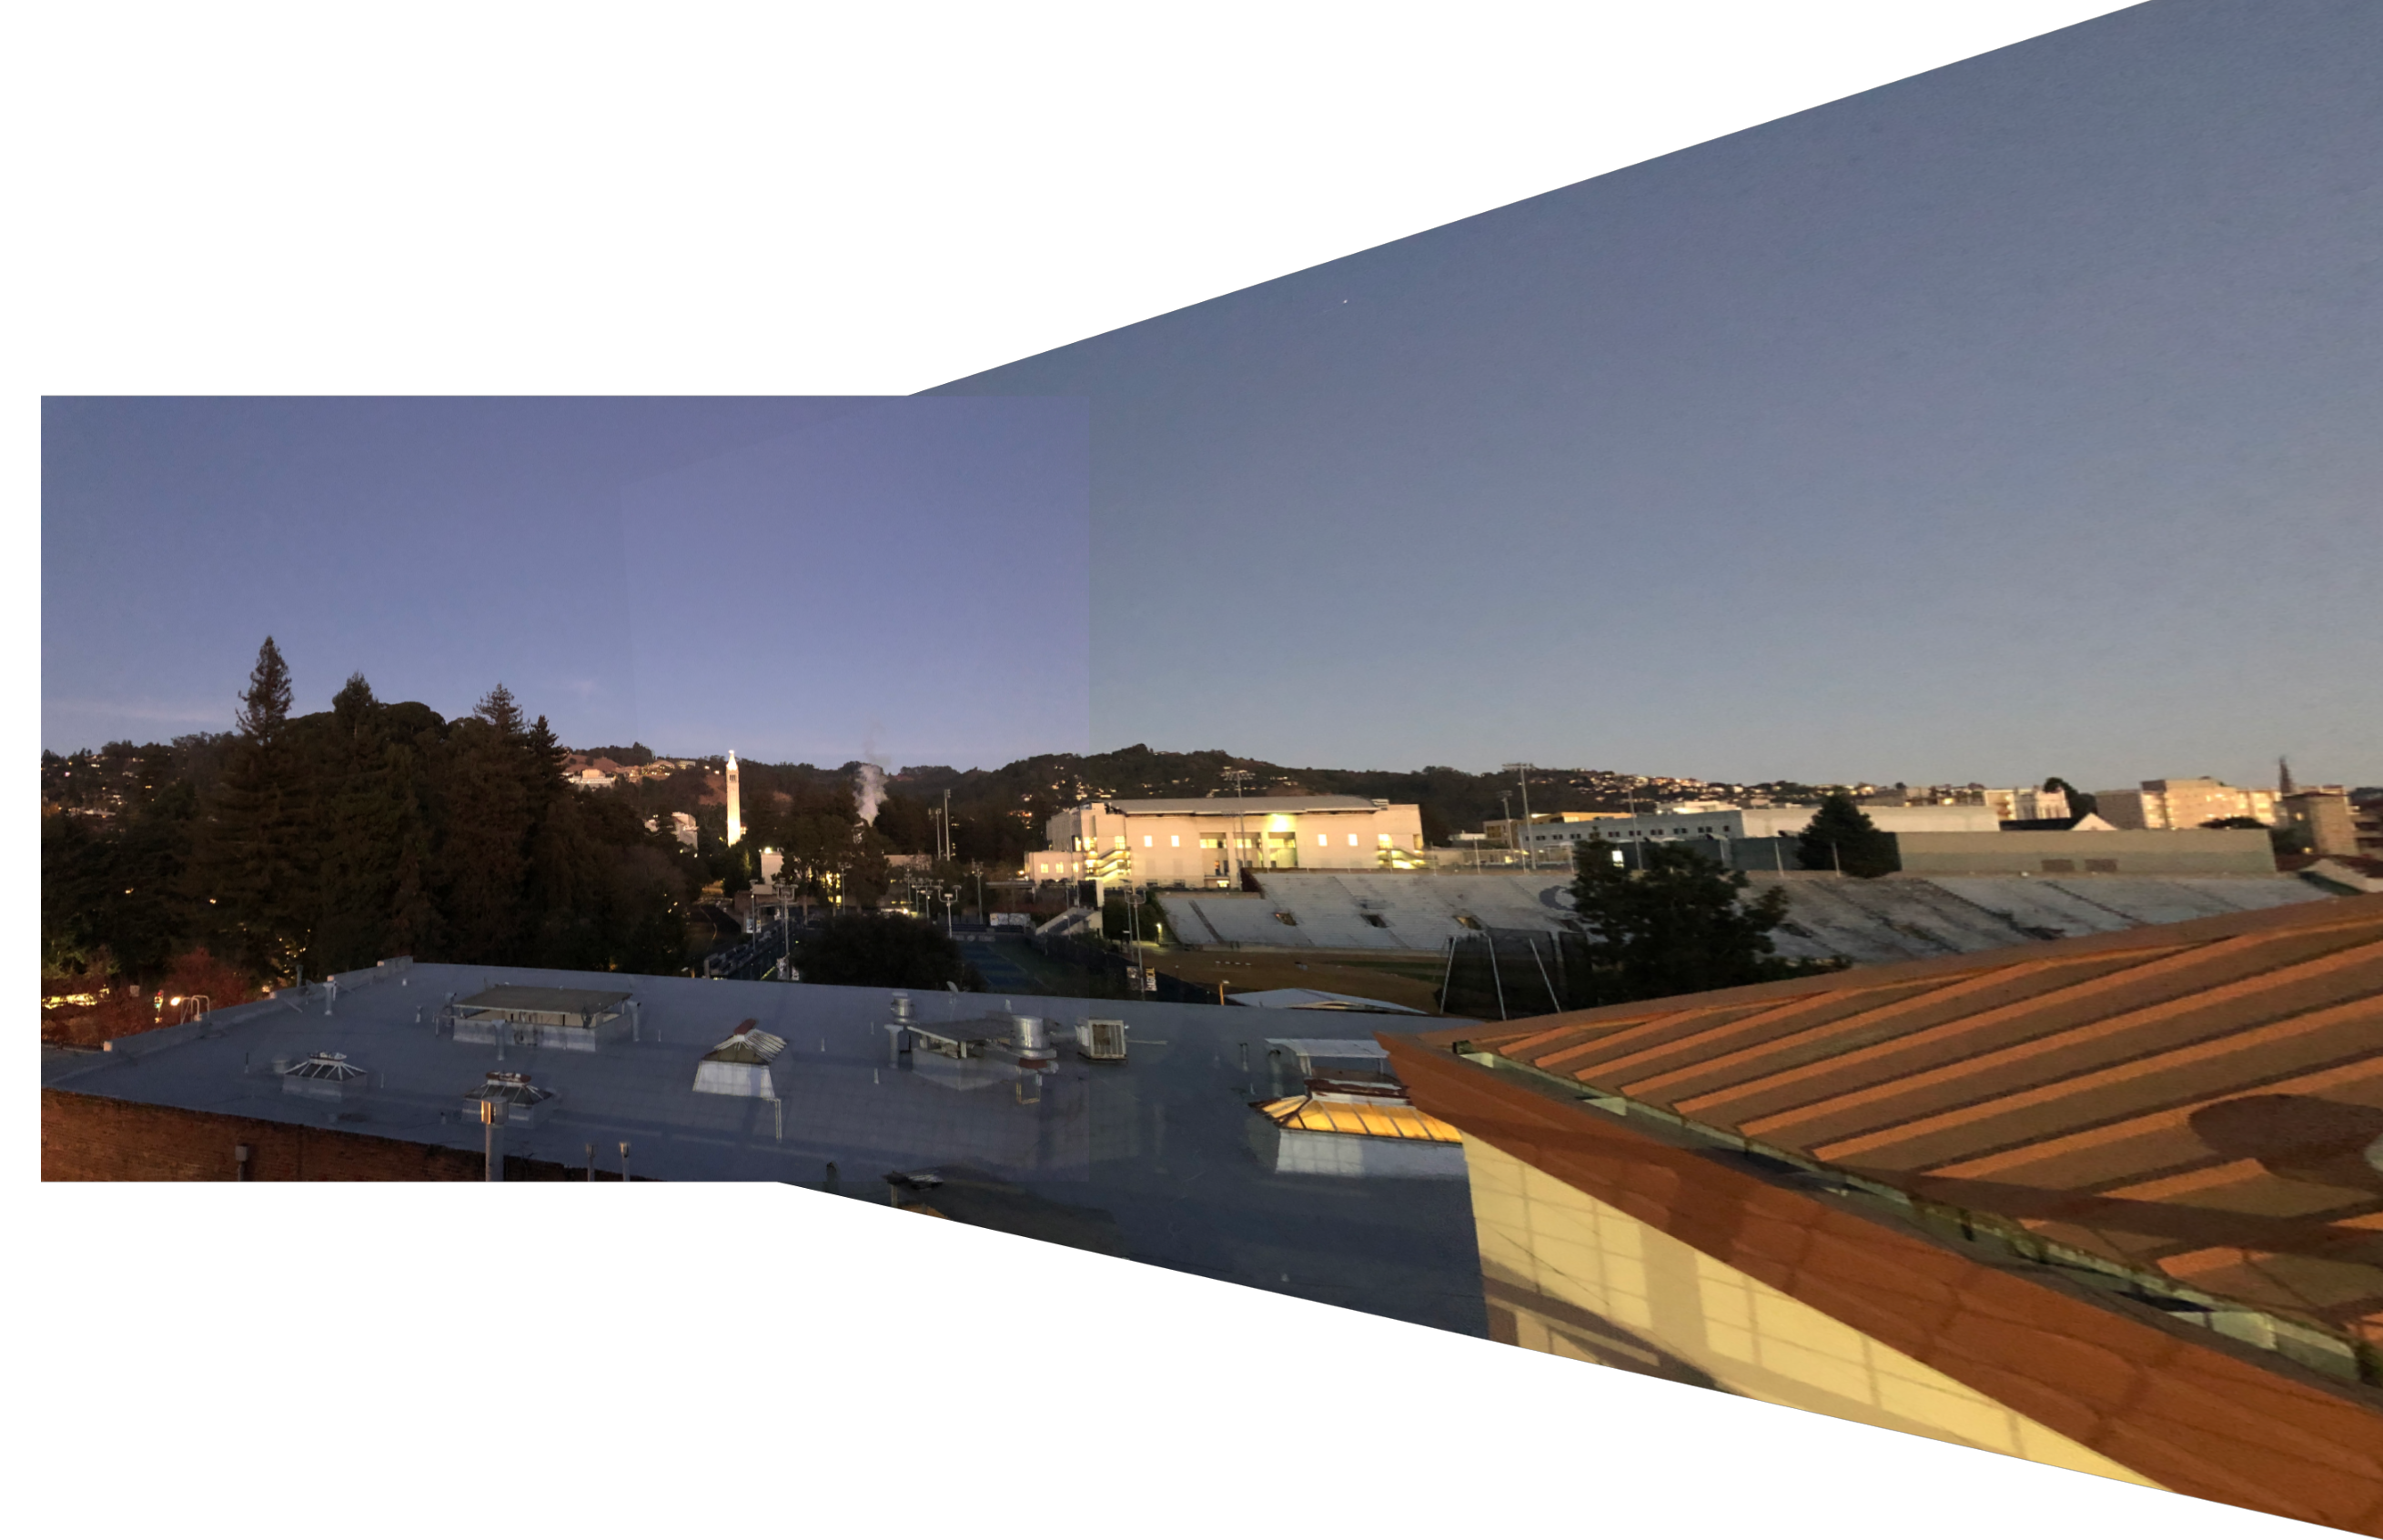
We manually stitch our images after finding our corresponding points between images by hand. We calculate our homography matrix H and warp our image such that our chose points align. We then perform alpha blending by averaging the alpha channel of overlapping parts of our stitched image.
Note: There are definitely some parts that our out of focus because the correspoding points I chose generally ignores that region. More detailed, obsure areas including sidewalks, grass fields, etc are continuous and hard to pinpoint with precision due to human error. Overall there is general "fuzziness". It is infeasible to collect points that perfectly capture each region in our image, so we will save this step for Part B.
Autostitching Overview
Our goal of the second part of the project is to automate and improve processes of selecting and matching corresponding points. For this, we need the ability to select meaningful points in our image, desribe them, match them across different viewpoints, and discard outliers that may interfere with our homography calculations.
We will refer to “Multi-Image Matching using Multi-Scale Oriented Patches” by Brown et al. when implemening our algorithm.
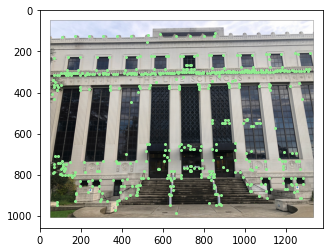
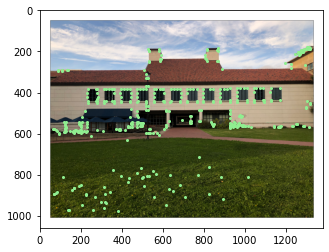
Harris Point Detector
We use the starter code to overlay harris points on our image. We modify it slightly to detect only peak corners, reducing the number of points while keeping radii between points low.
Adaptive Non-Maximal Suppression
In the above figures, we see how there are dense clusters of points, providing redundancy. We want to reduce the number of points while choosing the strongest corners and having a spatially even distribution.

To implement this, we use Adaptive Non-Maximal Suppression (ANMS). For each harris corner x_i, we calculate the minimum distance r_i to a stronger harris corner x_j. This r_i serves as a metric to determine how strong and essentiall a point is. We pick the top 500 points with the largest r_i values.
Let's take a look on how this fares against other metrics. We will compare for an image, its Harris corners (left), ANMS 500 (middle), and strongest 500 (right). We can see that ANMS has a much more even spacial distribution while still having strong corners.
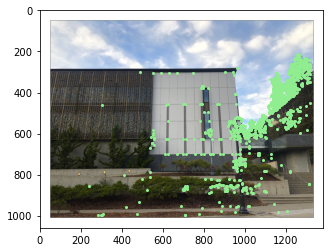
Harris Corners
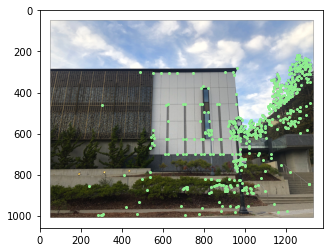
ANMS 500
Strongest 500
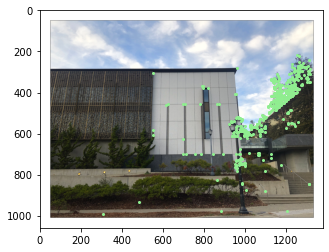
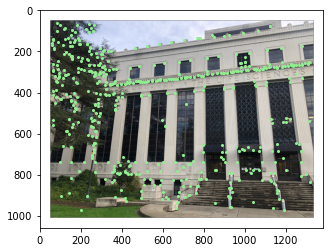
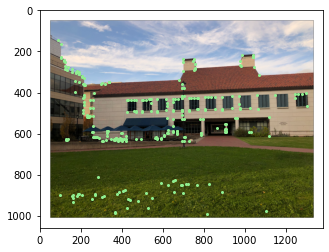
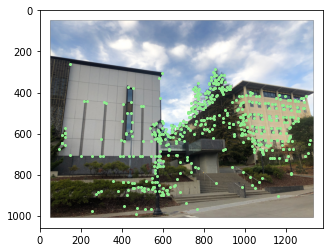
Here are the ANMS 500 for each of our images --
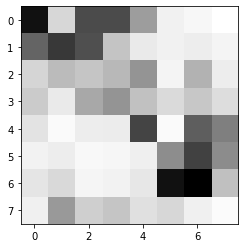
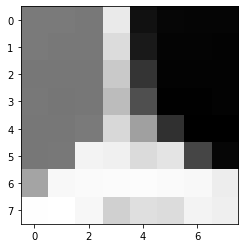
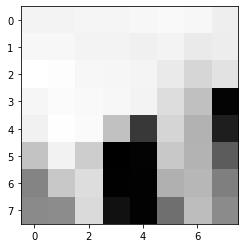
Feature Descriptor Extraction
For this, we transform our images into black and white and add Gaussian blur. We create unique descriptors for our images using 40x40 axis-aligned patches downsampled into an 8x8 grid. Here are some samples --
Feature Matching
We find pairs of feature points that look similar by calculating the norm between our descriptor patches and selecting all the points that are less than a selected threshold. For matches, I've determined that e < 5.0 provides good matches.
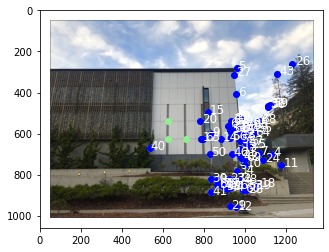
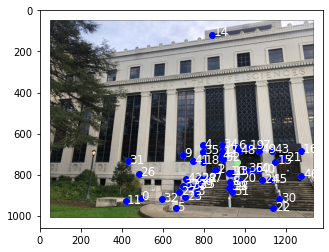
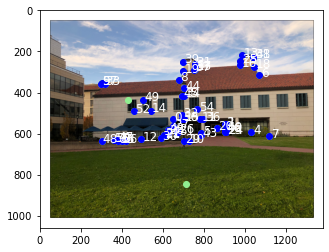
RANSAC
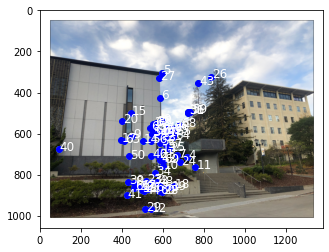
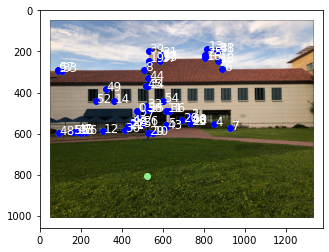
Outliers can affect the performance of our autostitching, due to the nature of calculating least squares for our homography. We want to determine that the feature points we match are not outliers. We use the RANSAC algorithm to randomly choose a subset of points and calculate a homography; we use this homography to find inliers. We iterate multiple times and fine the largest set of inliers and use that for our re-calculating our homography. Below are our images with all our feature matched points, with blue being our inliers and green our outliers.

Autostitching
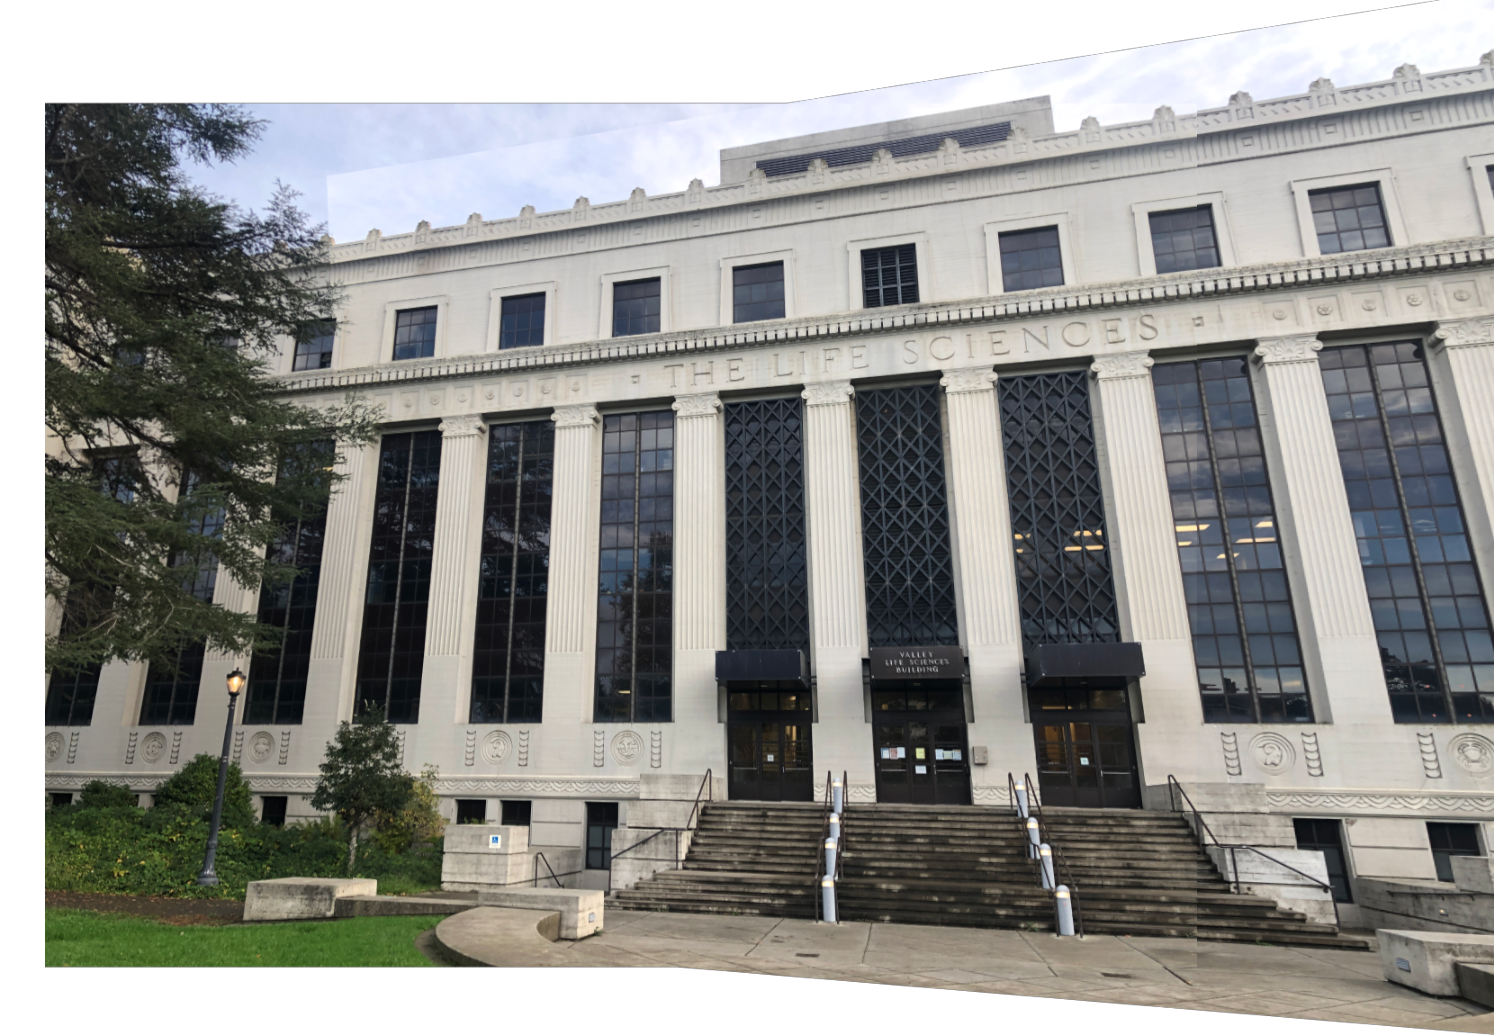
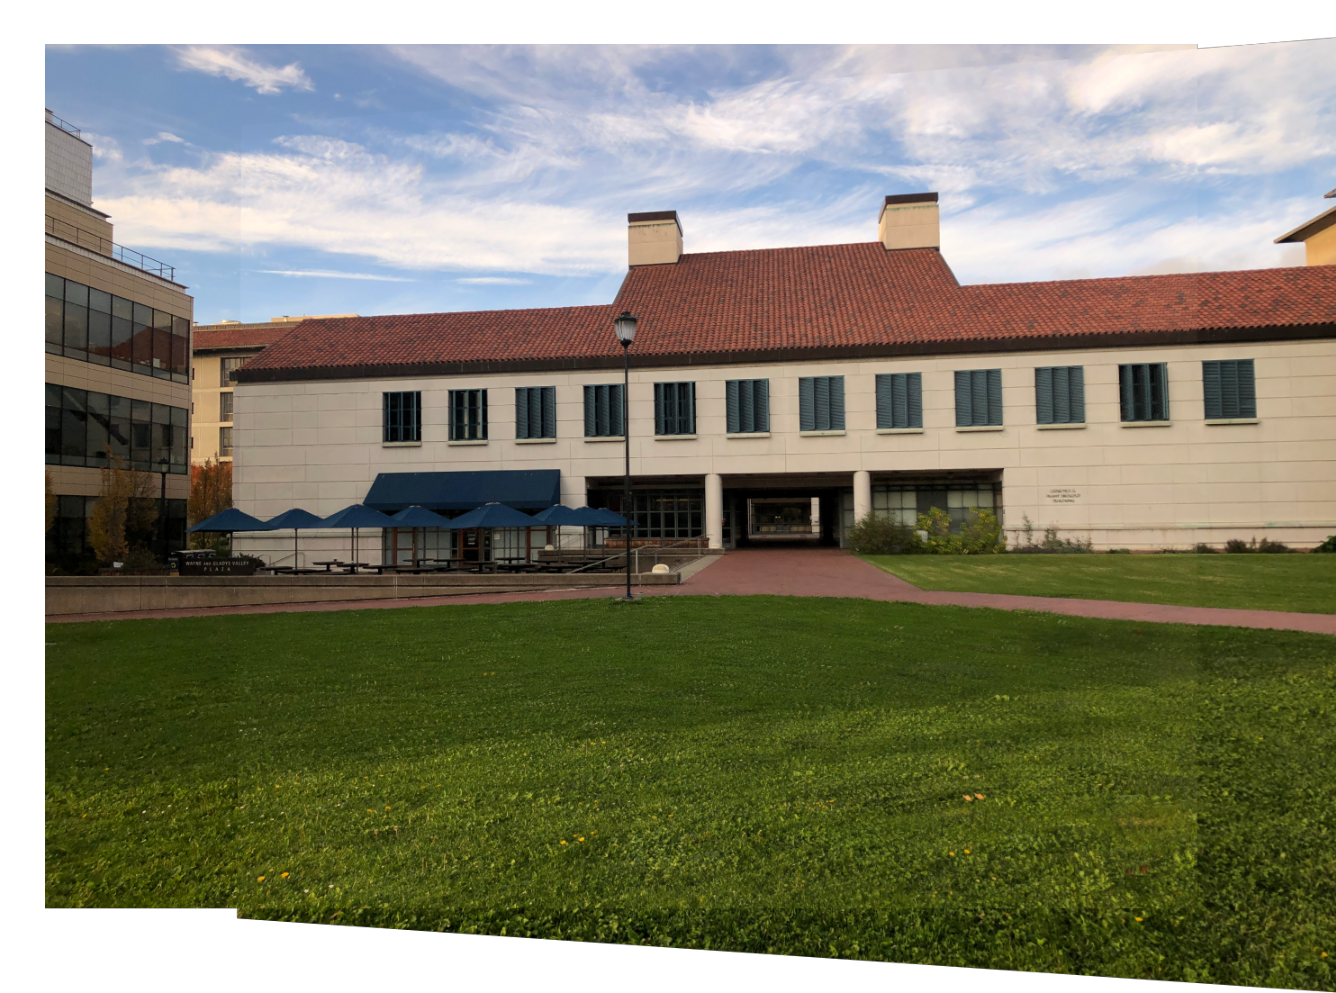
After ridding of outliers, we can re-calculate our homography as in Part A and generate mosaics of our image. Here are the results, side by side. I definitely recommend opening image in new tab to note differneces.
Manual

Auto
Manual
Auto
Manual
Auto
Auto (Bonus)
Cropping
Quick cropping can create a more realistic feel. Here are the final results with the modfiication below.
Final Thoughts
Very fun project, toughest challenges were learning how to use numpy functions to the fullest of their capabilities. Manipulating images as data requires a create skillset. Paper was straightforward to follow through, and the images look amazing.